 Stardew Valley

How to Get Ancient Seeds Fast: The Year 1 Ancient Fruit Route
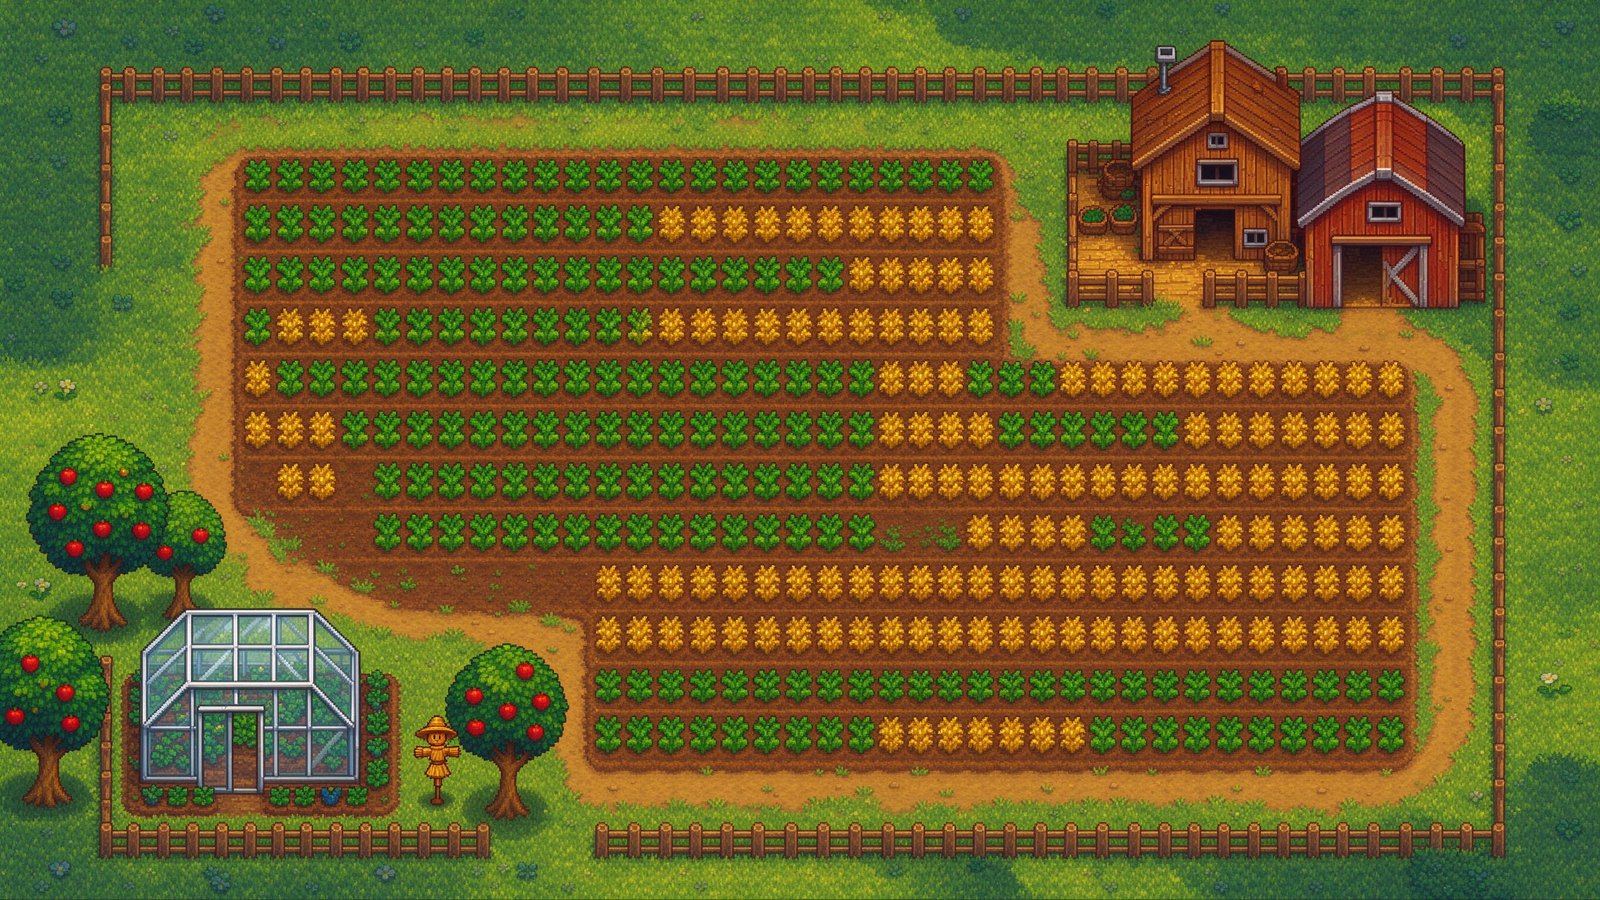
Ancient Fruit is the most profitable crop in Stardew Valley per tile, and almost every guide tells you the same useless thing: “get an Ancient Seed from an artifact spot.”
That sentence hides the actual problem. The hard part is not finding the seed — it’s turning one seed into a whole greenhouse’s worth, before Year 2 arrives and you’ve lost a full season of wine money.
This guide is the route, in order, with the steps that actually matter.
Why Ancient Fruit Is Worth This Much Effort
| Property | Ancient Fruit |
|---|---|
| First growth | 28 days |
| Regrow | every 7 days |
| Base sell price | 550g |
| Wine base | 1,650g |
| Wine with Artisan | ~2,310g |
| Replanting cost | none, ever |
A crop that produces every 7 days and never dies means one planting generates income forever. In a greenhouse, where seasons don’t apply, that is the strongest income tile in the game.
The catch: the first 28 days produce nothing. Every day you delay getting the first seed is a day of delayed compounding. That’s why the route below front-loads acquisition into Year 1.
Step 1: Acquire the Ancient Seed Artifact
There are three reliable acquisition paths. You do not need to pick one — run all three in parallel, every day, and take the first hit.
Path A: Artifact Spots (primary)
Artifact spots are the small wiggling dirt patches with the little tentacle-looking marks. Dig them with the hoe.
Where to look:
- Cindersap Forest (south of your farm) — high density, short walk
- The Mountain area around the lake
- Bus Stop and Backwoods
- Anywhere in the mines on dirt
Why it works: artifact spots respawn daily in fixed per-area quantities. A short daily loop through Cindersap Forest plus the mountain takes about a minute of real time and gives you several digs per day.
Practically: set a daily habit. Before you do anything else in the morning, run the forest loop. Artifact spots that respawn while you’re elsewhere won’t dig themselves.
Path B: Fishing Treasure Chests
Treasure chests pulled up while fishing can contain artifacts, including the Ancient Seed. If you’re already fishing for the Community Center, this is free lottery tickets.
Why it works: fishing is something you’re doing anyway in Year 1 for the bundles. Chest chance is not something you can grind directly, but the volume of fishing you do for the fish bundle covers a lot of attempts.
Path C: The Traveling Cart
The cart appears Friday and Sunday in Cindersap Forest and sells random stock, occasionally including seeds and artifacts. Check it every week. It’s a two-minute detour and the stock rotates.
Why it works: it’s the only path that lets you buy your way out of bad luck. If you’re in late Fall with no Ancient Seed, this is your remaining option.
Step 2: Donate the Artifact to the Museum
This is the step that converts a useless artifact into a real farming asset, and a surprising number of players skip it.
Take the Ancient Seed artifact to Gunther at the Museum. Donating it gives you:
- One plantable Ancient Fruit Seed (immediately usable)
- The Ancient Fruit Seeds crafting recipe — the ability to craft seeds from Ancient Fruit via a Seed Maker chain
That recipe is the core of the whole strategy. Without the donation, you have a museum item. With it, you have an industrial process.
Do this the same day you find the artifact. Do not bank it in a chest “for later.”
Step 3: Plant the First Seed Somewhere Permanent
Where you plant the first seed determines how fast you multiply.
Best: the greenhouse
If you’ve completed the Pantry bundles, the greenhouse has no seasons. The Ancient Fruit grows through Winter and starts producing while your outdoor farm is frozen. This is the single best use of the first seed.
Second best: a season that won’t end soon
If the greenhouse is not available, plant it in Spring or early Summer so the 28-day growth doesn’t get cut off by Winter. Ancient Fruit dies at the end of Fall like any other crop — a seed planted in late Fall is a wasted seed.
Worst: a chest
Every day the first seed sits in a chest, you lose a day of compounding. Plant it.
Step 4: Build a Seed Maker and Multiply
This is the step that turns one seed into a greenhouse. The Seed Maker takes a crop and returns 1–3 seeds of that crop type, plus occasional mixed seeds.
The loop:
- Harvest your first Ancient Fruit
- Put every harvested fruit into the Seed Maker instead of the keg
- Plant every resulting seed
- Repeat until the greenhouse is full
At an average of roughly 2 seeds returned per fruit, the population roughly doubles every harvest cycle. With a 7-day regrow, a handful of harvest cycles takes you from a few tiles to a full greenhouse.
The discipline this requires: every fruit you sell early is a seed you didn’t make. Resist the keg. The keg becomes correct only after the field is full.
Making Seed Makers
Seed Makers need Farming level 9 and materials including wood, gold bars, and iron bars. If you’re short on gold bars, prioritize a mining trip over a farming trip — the Seed Maker is the bottleneck resource in this whole plan, not the seeds.
Build several. One Seed Maker processes one fruit at a time with a short delay. Two or three keeps the loop tight when you have a dozen harvests per cycle.
Step 5: Route Everything Into Kegs Once the Field Is Full
Once the greenhouse is planted out, the strategy flips completely: every fruit now goes to a keg, not the Seed Maker.
| Stage | Fruit goes to | Reason |
|---|---|---|
| Before field is full | Seed Maker | Compound the planting stock |
| After field is full | Keg → wine | Convert the harvest into gold |
The transition point is simple: when you run out of plantable tiles, stop making seeds.
Realistic Year 1 Timeline
| Season | Focus |
|---|---|
| Spring | Daily artifact-spot loop; museum donation the day you find it; plant the seed immediately |
| Summer | Build Seed Makers; harvest every fruit into seeds; expand the field |
| Fall | Keep multiplying; finish Pantry bundles for the greenhouse if not already done |
| Winter | Greenhouse keeps producing while outdoor farm is dead |
If you find the artifact late (Fall or Winter), don’t panic. Plant into the greenhouse if you have it, otherwise hold the seed and plant on Spring 1. The compounding starts either way — it just starts a season later.
Five Mistakes That Cost You Seasons
1. Selling the first fruit. The single most expensive decision in an Ancient Fruit run. That fruit is worth maybe a few hundred gold raw. It is worth multiple tiles of permanent production as a seed.
2. Donating the artifact late. The donation is what unlocks the recipe. Every day of delay is a day you can’t craft seeds.
3. Planting in Fall outdoor. The crop dies at the end of the season. Late-Fall planting outdoors throws away 28 days of growth.
4. Building one Seed Maker. One machine makes the multiplication rate painfully slow. Build two or three before you have 20 tiles producing.
5. Ignoring keg capacity. A full greenhouse with no kegs is a warehouse, not a business. Match kegs to harvest volume — see the greenhouse layout comparison.
What Ancient Fruit Does Not Solve
Ancient Fruit is a per-tile champion, not an infinite money machine by itself. It does nothing for:
- Early-game cash flow — it pays nothing for 28 days
- Bundle completion — it’s not a bundle item
- Variety-based quests — Qi’s challenges and some orders want specific crops
Treat it as a late-stage engine bolted onto a farm that already works. If you have no income at all, fix that first with the Fall Year 1 money route, then come back to Ancient Fruit.
Summary
The Ancient Seed route is four actions, in order:
- Dig artifact spots every single morning (plus fishing chests, plus the weekly cart)
- Donate to the museum immediately — this unlocks the seed recipe
- Plant the first seed in the greenhouse and feed every fruit to a Seed Maker
- Switch to kegs only when the field is full
The players who finish Year 1 with a wine empire are not luckier. They dug the same artifact spots, they just did it every day from Spring 1, and they refused to sell the first fruit.