 Stardew Valley

Fastest Community Center Completion Route (Year 1 Timeline)
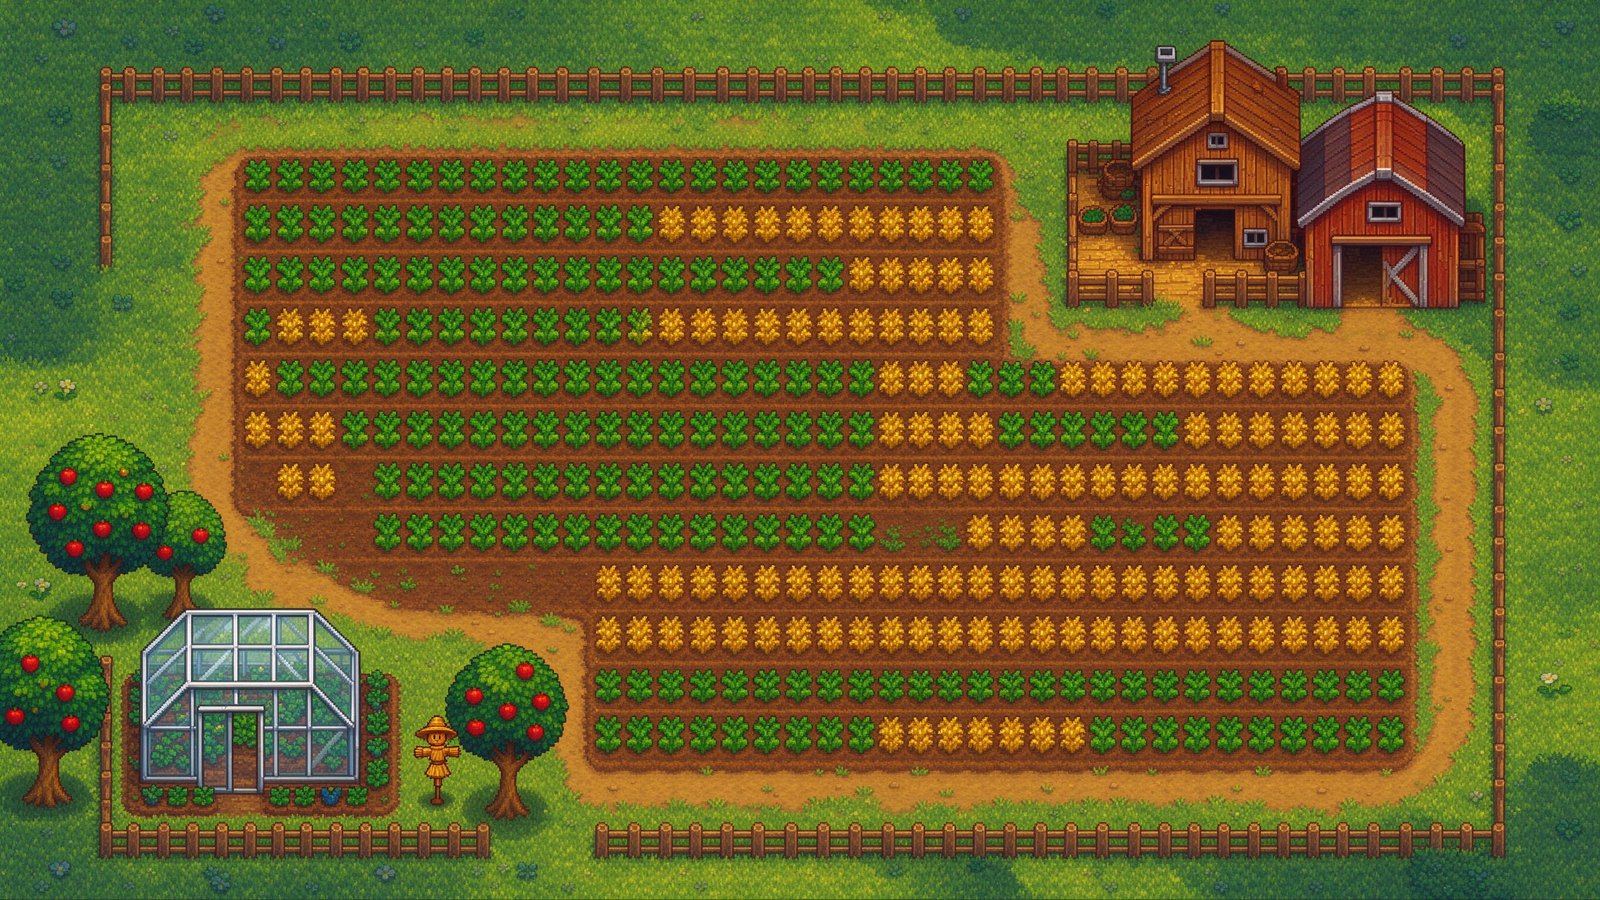
Completing the Community Center in Year 1 is achievable — but only if you decide on Spring 1 that you’re doing it.
Most players finish in Year 2 or Year 3, and the reason is never skill. It’s that they sold the wrong items in Spring, missed a season-locked fish, or didn’t plant the crop they’d need six months later. Every bundle item you sell in Spring is a bundle you finish a year late.
This is the full plan: bundle priority order, what to pre-collect each season, the three bundles that stall almost every run, and what to do when you’re behind.
Why Bother Finishing Early
Each room unlocks something that changes how you play, not just a cosmetic reward.
| Room | Unlocks | Why it matters |
|---|---|---|
| Crafts Room | Bridge repair | Access to the Quarry — free ore and geodes |
| Pantry | Greenhouse | Year-round farming; the single biggest unlock |
| Boiler Room | Minecarts | Fast travel between key map points |
| Bulletin Board | Friendship with the town | Unlocks villager content and recipes |
| Vault | Bus repair | Access to the Desert — Starfruit, Skull Cavern |
| Fish Tank | Glittering Boulder removed | Panning and better fishing spots |
The greenhouse is the prize. Once you have it, seasons stop mattering for your best crop, and Winter becomes a productive season instead of a waiting room. Every week you delay the Pantry is a week of lost compounding.
The Priority Order (This Is the Whole Strategy)
Not all bundles are equal. Do them in this order, and do them early:
Tier 1 — Do first, no matter what
- Pantry (Greenhouse) — crops are cheap, the reward is enormous
- Crafts Room (Bridge) — forage items, no farming skill needed
- Boiler Room (Minecarts) — ores and bars, which you get from mining anyway
Tier 2 — Do second
- Fish Tank — gated by season and weather, so start collecting in Spring
- Bulletin Board — needs friendship, which takes time; start gifting early
Tier 3 — Do last
- Vault — pure gold. It costs money that’s better spent on infrastructure first.
Why this order: Tier 1 is achievable with forage and basic farming. Tier 2 is season-locked and cannot be rushed — you must start in Spring or wait a year. Tier 3 is a gold check, and gold gets easier as the farm scales.
Spring: Set the Trap
Spring is not about finishing bundles. Spring is about not missing anything.
Daily habits (non-negotiable)
- Forage everything you walk past. Wild Horseradish, Daffodil, Leek, Dandelion. Keep one of each, sell the surplus.
- Fish every rainy day. Catfish is Spring rain only. Missing it costs a year.
- Dig every artifact spot. Copper, clay, and occasional artifacts feed multiple bundles.
- Chop trees into a chest, don’t sell instantly. You’ll need large wood quantities for construction bundles.
Spring bundles to clear
- Spring Foraging — Wild Horseradish, Daffodil, Leek, Dandelion
- Spring Crops — Parsnip, Green Bean, Cauliflower, Potato
- Spring Fish where possible — Sunfish (sunny day), Catfish (rain)
Spring crops: plant for the bundle, not for profit
This is the central tension of Year 1. Cauliflower is a low-profit crop. You plant it anyway, because Spring Crops needs it.
The efficient compromise: plant your profitable crop (potatoes, strawberries if the festival timing works) for income, and a small dedicated bundle plot for the specific items the bundle wants. Two small plots, not one big one.
Keep at least one of every crop you harvest in a “bundle chest.” Never sell the last of anything.
Summer: The Season That Decides It
Summer is where Year 1 runs are won or lost, because three expensive bundles all want Summer items.
Summer bundles to clear
- Summer Foraging — Grape, Spice Berry, Sweet Pea
- Summer Crops — Tomato, Blueberry, Hot Pepper, Melon
- Animal bundle — needs animal products, so buy animals now, not Fall
- Blacksmith — copper, iron, gold bars
The Animal bundle trap
The Animal bundle wants large animal products, which only come from animals with enough hearts. That means:
- Buy animals in early Summer, not Fall
- Pet them every single day
- Feed them every day without fail
An animal bought in Fall will not produce large products in time. This is the most common single cause of Year 1 failure.
The Blacksmith bundle
Needs one copper bar, one iron bar, one gold bar. You’ll get these from normal mining — but smelt them into bars, don’t leave them as ore. A stack of 40 iron ore is not a bundle item.
What to pre-collect for Fall
- 1 Tomato, 1 Hot Pepper (Fall crop bundle overlap)
- Every Summer fish you catch — the Night Fishing bundle wants some
- 99 wood, 99 stone, 99 fiber in a chest (the Crafts bundle will want them)
Fall: Push, Don’t Wander
Fall is the last outdoor season. Anything not done by Fall 28 waits until next year.
Fall bundles to clear
- Fall Foraging — Common Mushroom, Wild Plum, Hazelnut, Blackberry
- Fall Crops — Corn, Eggplant, Pumpkin, Yam
- Quality Crops — gold-quality versions of specific crops
- Night Fishing — Walleye, Bream, Eel (rain, evening)
- Crafts Room remainder — the 99/99/99 resource bundle
The Quality Crops bundle
This one stalls more runs than any other, because it wants gold star crops, not regular ones.
Two ways to reliably get gold star:
- Farming level 9+ — higher farming skill raises the base quality distribution
- Deluxe Fertilizer — applied before planting, pushes quality up
The plan: pick one reliable crop (Pumpkin is the standard choice — big, single-harvest, high base value), plant it with Deluxe Fertilizer, and harvest a batch specifically for this bundle. Don’t hope for gold stars off your main crop.
Winter: The Final Push
Winter has no crops, which is exactly why it’s the cleanup season.
Winter bundles to clear
- Winter Foraging — Winter Root, Crystal Fruit, Snow Yam, Crocus
- Geologist bundle — quartz, earth crystal, frozen tear, fire quartz
- Adventurer bundle — monster drops (slime, bat wings, bug meat)
- Bulletin Board — friendship-gated items and recipes
Winter forage is easy money and easy bundle progress
Winter Root, Crystal Fruit, Snow Yam, and Crocus spawn daily across the map. A daily forage loop in Winter clears the Winter Foraging bundle in a couple of weeks.
Use Winter to finish the friendship bundles
Bulletin Board needs items tied to villagers and cooking. Winter, when the farm is idle, is the right time for gift routes and cooking.
The Three Bundles That Stall Almost Every Run
1. Animal Bundle (large products)
The trap: large milk and large eggs require animal friendship. New players buy animals too late and pet them inconsistently.
Fix: buy one cow and one chicken in early Summer. Pet daily. Feed daily. By Fall they’ll produce large products.
2. Quality Crops (gold star)
The trap: players plant their main crop and hope some come out gold.
Fix: a dedicated plot, one crop, Deluxe Fertilizer, and farming level 9+ before harvest.
3. Crafts Room (99 wood / 99 stone / 99 fiber)
The trap: it looks trivial, and everyone sells their wood for early cash.
Fix: a dedicated “bundle chest” from Day 1. Never sell the last stack of wood, stone, or fiber.
If You Fall Behind
Realistically, most first attempts slip. Here’s the triage.
If you’re behind at the start of Winter
Do these, in this order, and skip the rest:
- Pantry → greenhouse (biggest long-term payoff)
- Crafts Room → quarry access
- Boiler Room → minecarts
Defer Bulletin Board and Vault to Year 2. They cost the most time and give the least immediate benefit.
If you missed a season-locked item
Accept it and plan Year 2. There is no workaround for a missed Catfish in Spring — the fish simply isn’t available. Write it on a list and catch it next year.
If you’re missing one item from a bundle
Check the Community Center bundles database for the exact item and its alternate sources before assuming you must wait a season. Some bundles accept multiple item options.
The Joja Alternative
You can buy your way out of every bundle by joining Joja Mart and paying for each project. It’s faster in raw time, and it costs gold instead of planning.
The trade-off that matters: the Joja route gives you the same functional unlocks but replaces the Community Center entirely. If your goal is only the greenhouse, Joja is genuinely faster. If you want the Community Center experience and the town restoration, it’s not.
Practical note: the two routes are mutually exclusive once committed to either.
Season-by-Season Checklist
| Jahreszeit | Must do | Must not do |
|---|---|---|
| Spring | Forage daily; fish every rain day; plant a bundle plot; start the bundle chest | Sell your last of any crop |
| Summer | Buy animals early; pet daily; smelt bars; catch Summer fish | Skip Pufferfish’s sunny midday window |
| Fall | Deluxe Fertilizer on a dedicated quality crop; rain-evening fishing for Walleye | Plant late-season crops you can’t harvest |
| Winter | Winter forage loop; finish friendship bundles; clear monster-drop bundles | Assume Winter is a dead season |
Summary
Year 1 Community Center completion is a planning problem, not a skill problem.
Three rules do most of the work:
- Keep a bundle chest from Day 1 and never sell the last of anything
- Buy animals in early Summer and pet them daily — the Animal bundle is the #1 stall
- Do Tier 1 rooms first — greenhouse, bridge, minecarts — and let the rest follow
If you get the greenhouse before Winter, everything after that gets easier. If you don’t, the plan for Year 2 starts with the same three rules.
For what to plant in the greenhouse once you have it, see Best Greenhouse Layout. For the fish that gate the Fish Tank, see Year 1 Fishing Master Plan.