 Stardew Valley

Skull Cavern Deep Dive: The Route, the Kit, and the Depth Rules
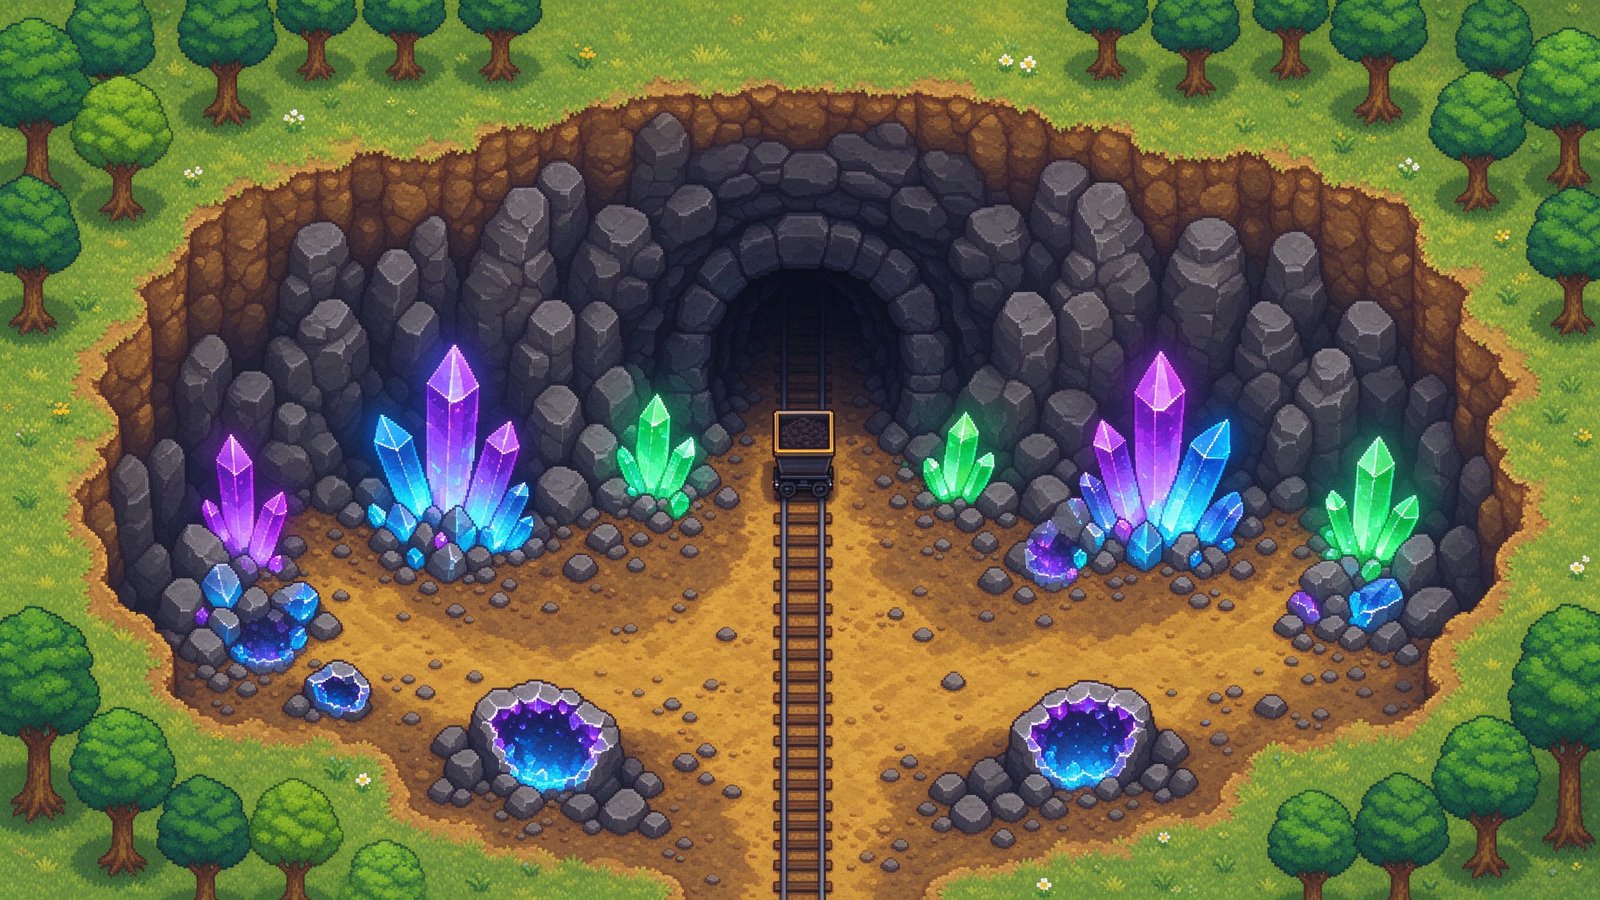
Skull Cavern has a reputation problem. People describe it as “the hard mine,” go in once, get mobbed by serpents at floor 5, lose their tools, and never come back.
That’s not what Skull Cavern is. Skull Cavern is a throughput problem: the loot only gets good when you get deep, and getting deep is a skill with a specific method. Learn the method and it becomes the most profitable activity in the game.
Here’s the method.
Prerequisites (Don’t Go Early)
| Requirement | Why |
|---|---|
| Desert access | The bus must be repaired — via the Vault bundle or Joja |
| Galaxy Sword or better | Serpents and iridium bats will kill you with starter gear |
| At least 1 full stack of stone | For emergency staircases |
| A stack of bombs | The single most important consumable |
| Healing food, not just snacks | You will take damage; you need real healing |
| Lucky day | Luck dominates this place more than any other location |
If you don’t have the bus or the sword yet, stop. Skull Cavern with a starter sword is a gold-losing activity. Do the Community Center route first.
The Kit: What to Bring
Bring only what you need. Every inventory slot used on clutter is a slot not holding loot.
Essential
| Gegenstand | Menge | Purpose |
|---|---|---|
| Bombs (or Mega Bombs) | 50–100 | Clearing rock fast; bombs beat swinging a pickaxe |
| Stone | 99+ per staircase | Emergency descent when a floor is a dead end |
| Healing food | 10–20 | Cheese, salads, or any high-heal food |
| Espresso or Coffee | 5+ | Speed buff — you move between shafts faster |
| Pickaxe | 1 | For ore nodes bombs miss |
| Weapon | 1 | Galaxy Sword minimum |
| Hoe | 1 | Dirt patches and artifact spots |
Strongly recommended
| Gegenstand | Purpose |
|---|---|
| Lucky Lunch / Spicy Eel | Luck buff — the most valuable consumable in Skull Cavern |
| Miner’s Bouquet / mining buff food | Faster pickaxe swings |
| Staircase stacks | Pre-crafted, if you can afford the stone |
| Farm Totem or return scepter | Escape at 2am without losing your haul |
Leave behind
- Your watering can (no farming underground)
- Everything you’re not using — ores stack, but spare tools don’t
- Full stacks of junk
The Depth Rules
This is what actually matters. Skull Cavern loot is depth-gated, not skill-gated.
| Depth | What changes |
|---|---|
| 1–10 | Nothing special. Waste of time. You should be dropping through these. |
| 10–30 | Occasional iridium nodes start appearing |
| 30–60 | Iridium nodes become common; good ore density begins |
| 60–100 | Strong iridium; prismatic shard chance climbs |
| 100+ | Best density; this is where real runs live |
| Deep shafts | Shaft drops can take you down 5–15 floors at once — always take them |
The mental shift: floors 1–20 are not content, they are stairs. You are not there to mine; you are there to get through. Bomb the rock in front of the ladder, find the descent, leave.
Players who mine floor 8 thoroughly and leave at floor 12 come back with copper and a story about how hard Skull Cavern is. Players at floor 80 come back with iridium.
The Descent Method
Step 1: Take shafts, never ladders, when both are available
Shafts (the holes) drop you multiple floors. Even with the fall damage, a shaft that skips 8 floors of mediocre loot is a win.
Step 2: Bomb, don’t swing
A Mega Bomb clears a large radius in one action. Swinging a pickaxe 12 times is 12 times the time and 12 times the exposure to mobs.
Bomb pattern: place the bomb between the densest rock clusters, walk away, wait for the blast, scan for a ladder or shaft in the cleared area.
Step 3: Prioritize the ladder over the ore
If a bomb reveals both a ladder and an iridium node, take the ladder. You will see far more iridium at floor 70 than at floor 40. Depth is the multiplier.
Exception: if you’re already at 80+ and the floor has multiple iridium nodes clustered, mining is correct. Judgment call, but default to descending.
Step 4: Know when to staircase
If a floor has clearly bad geometry — corridors only, no open rock — do not wander looking for a ladder. Drop a staircase and move on. This is what the stone stack is for.
Luck: The Variable That Dominates Everything
Skull Cavern is the location where daily luck matters most in Stardew Valley.
| Fortune | Effect on Skull Cavern |
|---|---|
| “The spirits are very happy today!” | More ladders/shafts, better ore, better monster drops |
| “In good humor” | Noticeably better than neutral |
| Neutral | Baseline — playable but slow |
| “Somewhat annoyed” | Fewer ladders, worse drops |
| “Really irritated” | Don’t go. You will burn bombs for nothing and probably die |
Check the TV every morning. If it’s a bad luck day, cook, process crops, or fish. Skull Cavern on a bad luck day is a gold loss, not a gold gain.
Stack luck buffs on top of the day’s fortune: Lucky Lunch or Spicy Eel. The combination of high daily luck + a luck buff is the difference between floor 20 and floor 100 in one trip.
What You’re Actually Looking For
Iridium Ore
The endgame metal. Needed for the best sprinklers, tools, and crafting. Dense at 60+.
Prismatic Shards
The rarest drop, needed for the Galaxy Sword and various late-game items. Chance climbs with depth. Iridium nodes and monsters both can drop them.
Omni Geodes
High volume at all depths. Sell them or break them for minerals and artifacts. Breaking is usually better value if you need museum donations.
Monster Drops
| Monster | Notable drop |
|---|---|
| Serpent | Rare drops, high XP |
| Iridium Bat | Iridium ore chance |
| Mummy | Requires bombs to kill permanently; good drops |
| Royal Serpent | High-tier drops (dangerous variant) |
Treasure Rooms
Occasionally a floor is a treasure room rather than a combat floor. These give items from a curated table. Always explore them fully before descending.
Danger and Death
If you pass out at 2am or lose all health, you lose items from your inventory. In Skull Cavern this can mean your bombs, your food, and your ore.
Mitigations:
- Leave by 1:00am. Give yourself travel time to the ladder or a totem.
- Carry a farm totem. Instant escape, no item loss.
- Don’t fight what you can avoid. Serpents can be outrun; only fight when they block a ladder.
- Keep healing food on a hotkey. Not in a chest, not in a bag — in your hands.
The classic mistake: going in with 2 salads and dying at floor 65 with 40 iridium ore in the bag. Bring enough food to get home.
The “Dangerous” Variant
Later in the game, a challenge shrine lets you toggle a harder version of the mines and Skull Cavern. Enemies hit harder, spawn more, and drop better loot.
Don’t toggle it on by accident. The dangerous version is a different difficulty tier — it assumes you have endgame gear, full food, and a plan. Treat it as a separate activity, not a casual run.
A Realistic Good Run
Here’s what a competent run looks like, start to finish:
- Morning: check TV. Bad luck → don’t go. Good luck → eat a luck-buff meal, drink Espresso.
- Pack: 60 bombs, 2 staircase stacks, 15 cheese, Galaxy Sword, pickaxe, hoe.
- Enter and blast: floors 1–30 are pure transit. Bomb, find ladder/shaft, leave. No mining.
- 30–60: descend fast, mine only dense clusters.
- 60–100: now mine. Iridium nodes are common. Take shafts when offered.
- Around 12:30am: start heading up or use a farm totem with the haul.
- Unload: sort ore, sell surplus geodes, keep the shards.
Result of a good run: dozens of iridium ore, several prismatic shard attempts, and a full geodes stack — and you were home before 2am.
Common Skull Cavern Mistakes
Mining floors 1–20. They have nothing. You are wasting the run’s most valuable resource: time. Going on a bad luck day. Half the ladder spawns, twice the death risk. Bringing a starter sword. You will die. There is no workaround. Hoarding instead of descending. Depth is the loot multiplier. No healing food. The run ends at the first serpent swarm. Staying past 1am. You lose the haul and the bombs. Ignoring shafts. A shaft is free depth. Always take it.
Summary
Skull Cavern rewards one behavior: descent speed.
Bring bombs, bring stone, bring luck, skip the shallow floors, take every shaft, mine only past floor 60, and leave before 1am. Do that and Skull Cavern stops being “the hard mine” and becomes the best gold-per-hour activity in the game.
For the gear that makes runs survivable, see the weapons database. For the coal and iron economy that funds your bombs, see the mining spots guide.